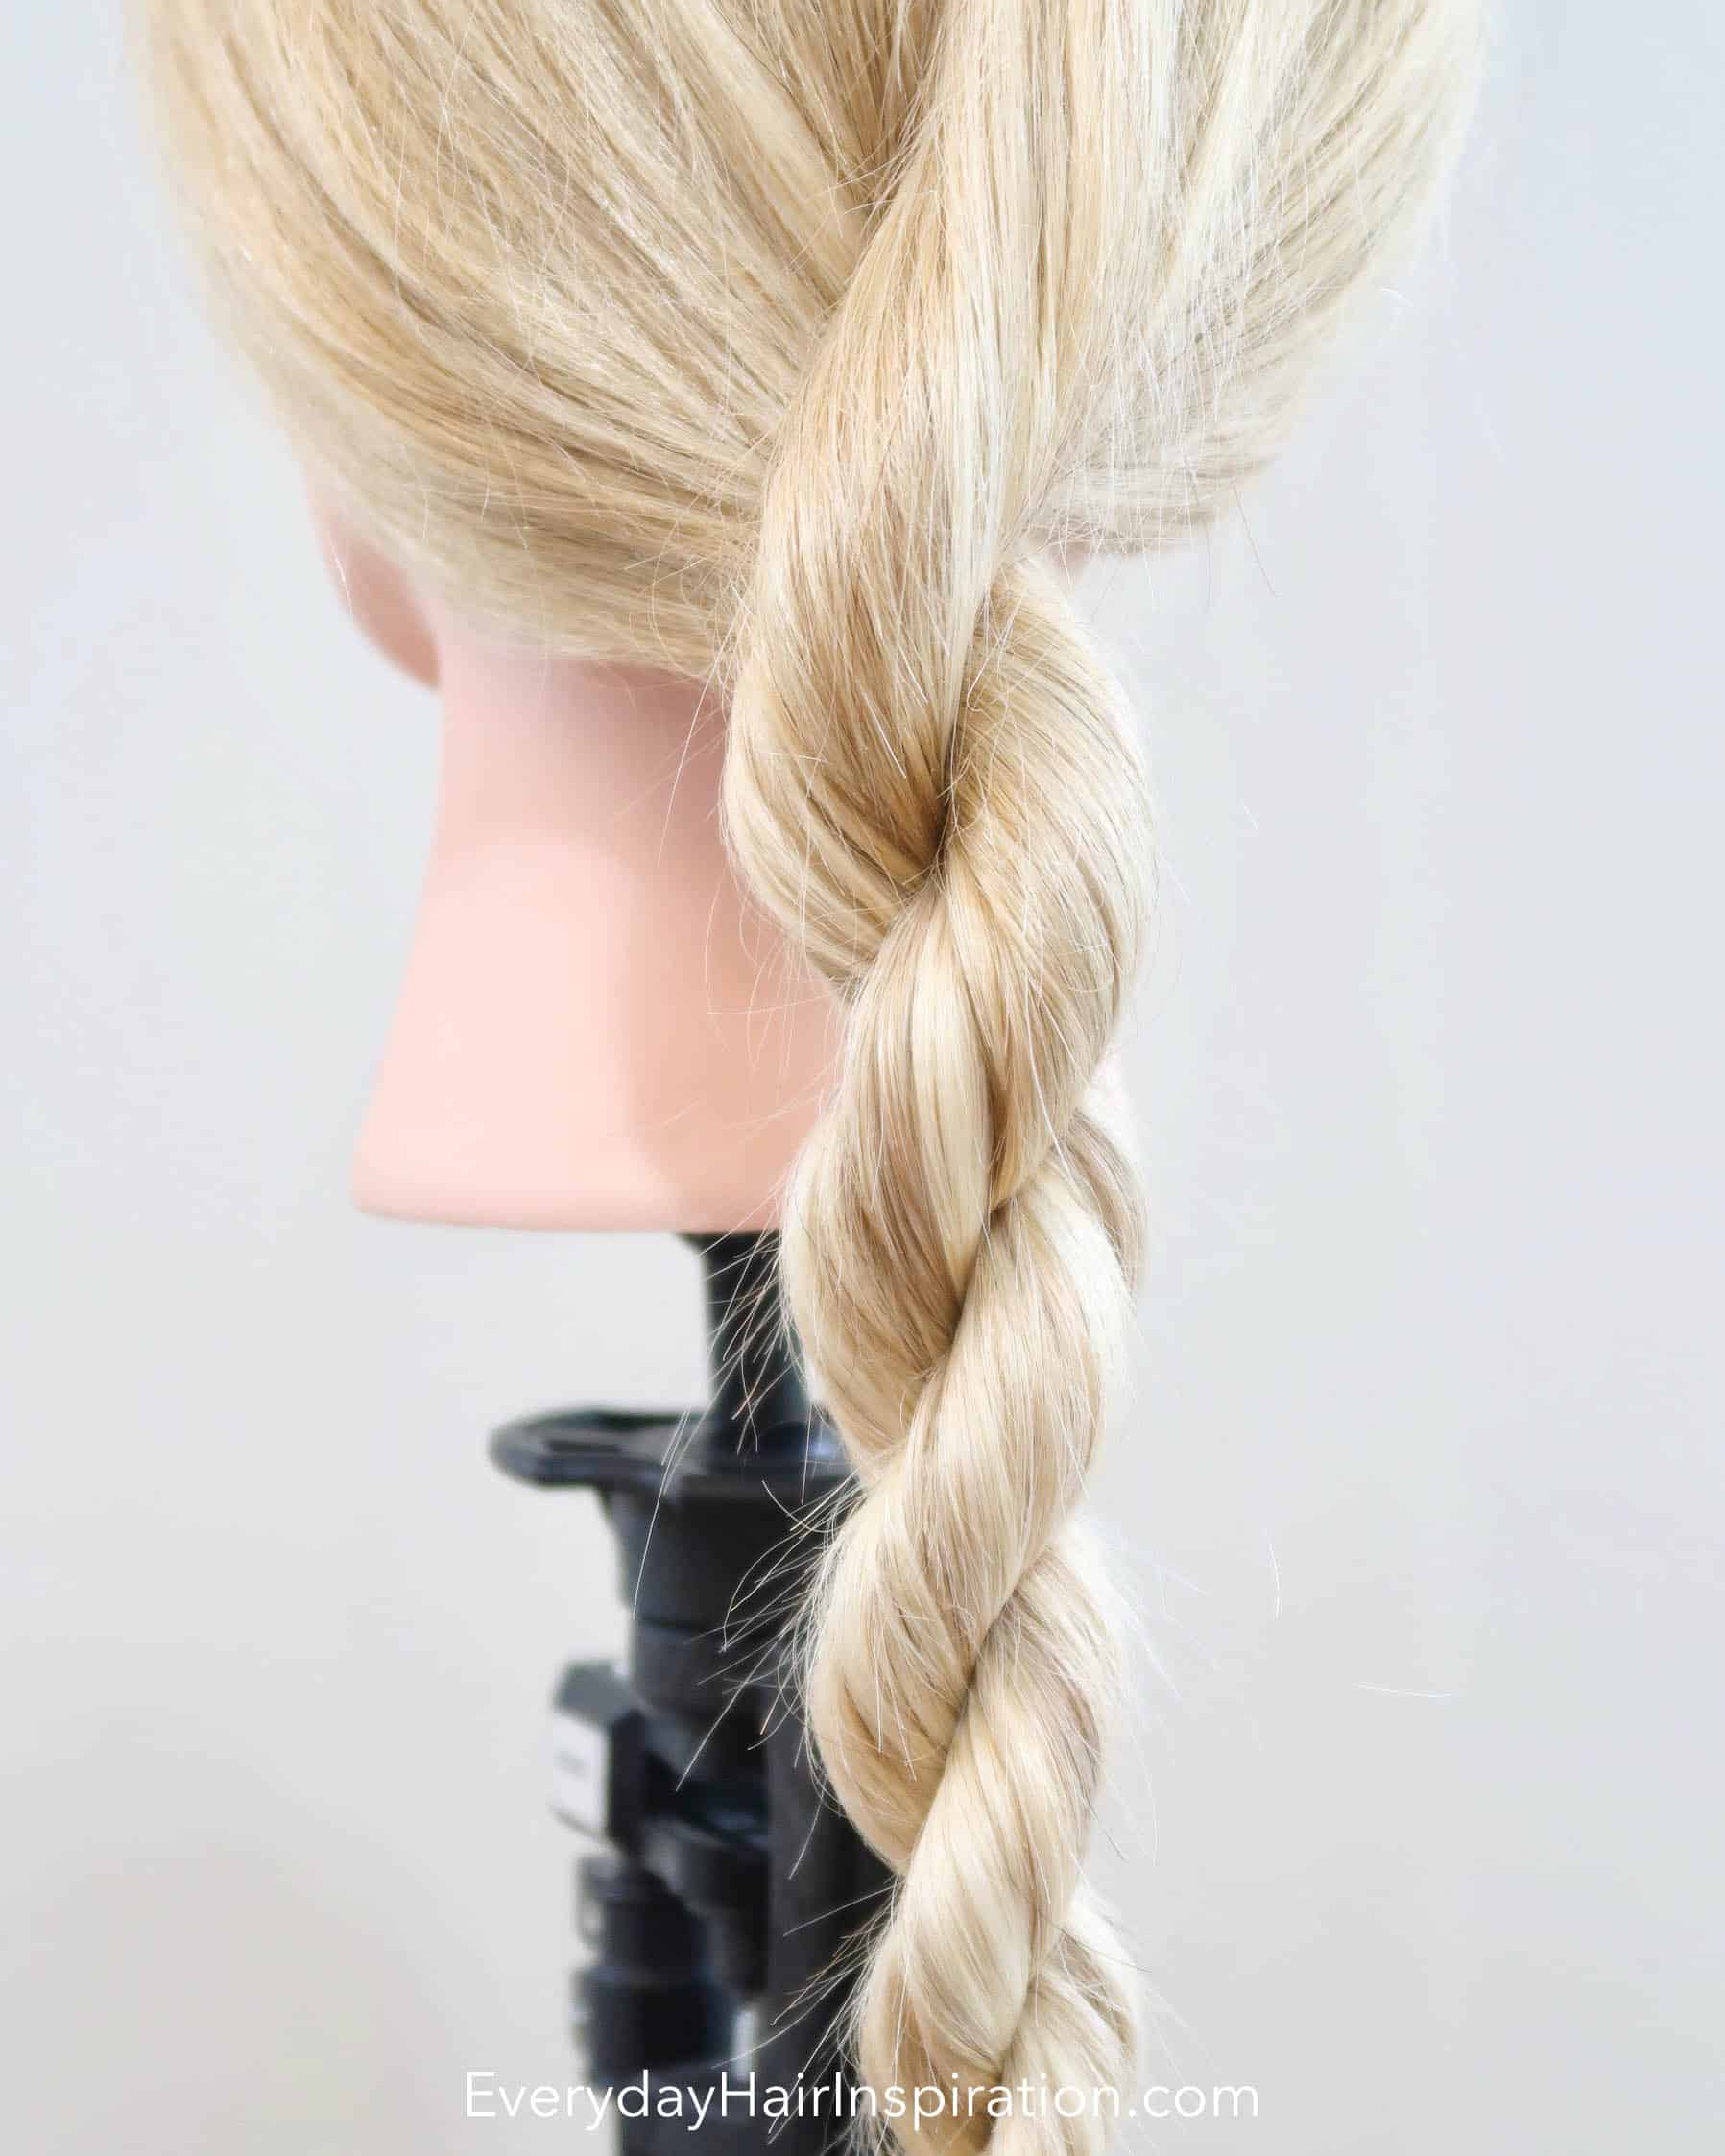
If you don’t know how to do a basic braid and are struggling with handling 3 strands of hair at once, then maybe a rope braid might be the braid for you!
It only has 2 strands that you twist in one direction and then wrap them around each other in the other direction. It sounds complicated, but is very simple, I promise!
This post is all about how to rope braid hair step by step!

Things you might need to create a rope braid hairstyle
The links below are affiliate links. That means that at no additional cost to you, I will earn a commission if you click through the link and make a purchase. Read more on my disclosure page click here.
Find all of my recommendations on hair products here – Clik here to read!
Easy and Simple Rope Braid for beginners
A rope braid can be used in so many different ways! You can braid it on the back like the video shows or you can pull all your hair to the side and create a side braid. If you prefer ponytails, then you can also create a high ponytail or a low ponytail and then braid the hair into a slick rope braid.
If you are more into a half up half down hairstyle, then you can braid the top part and let the braid hang or twist it into a small bun. It’s also perfect for updos as you can fluff the braid up and make it really voluminous.
If you want to rope braid your own hair, then I have linked a video below, where I show how I rope braid my own hair step by step!

How To Rope Braid Step By Step
TIME REQUIREMENT: 3-5 minutes
SKILL LEVEL: Easy
STEP BY STEP GUIDE
Step 1: Split your hair into 2 equal sections.
Step 2: Twist both sections towards the right, so they get twisted.
Step 3: Cross the right section over the left section, so they switch places.
Step 4: Twist the 2 sections again, to the hair some more.
Step 5: Cross the right section over the left section, so they switch places.
Step 6: Twist the 2 sections again, to the hair some more.
Step 7: Cross the right section over the left section, so they switch places.
Step 8: Twist the 2 sections again, to the hair some more.
Step 9: Cross the right section over the left section, so they switch places.
Step 10: Continue steps 2-10 until you reach the end of the hair and then tie off the braid.
So that is how you create a simple and easy braid that takes less than 5 minutes to do!